
Light Saber build part 1
Today is May Day, so I though to prepare and finish off my Light Saber build that had been sitting in my shelf for quite sometime. The idea is not new and the circuit is a modification of an existing circuit build by someone else. So it is not by any means original but still fun to build.
So here is the circuit, it is using Arduino nano as the “brain” and MPU6050 gyroscope to detect the movement. It also being equipped with DFPlayer mini for the light Saber effect. The light is using addressable LED strip (WS2811).

I had manage to wire up the circuit by recycling my previous build of Frankenbot. I have not wire up the LED and the gyroscope just yet, this is to ensure that everything is working before moving on to the next part.
Arduino Library
You will need the DFPlayer Mini library as shown in the following picture:

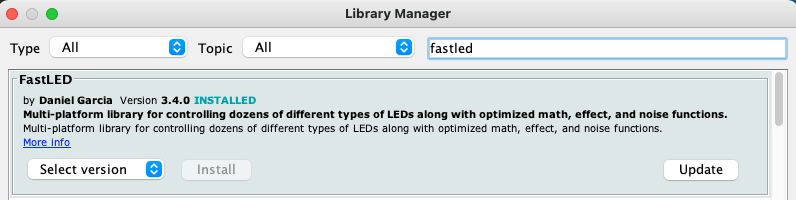
And also the FastLED library as shown below;
You can use the following code to test your connection and wiring. Some of the important thing to note is the connection of the arduino software serial as below:
Arduino pin D11 (RX) <——-> DFPlayermini TX
Arduino pin D10 (TX) <——-> DFPlayermini RX
#include <SoftwareSerial.h>
#include <DFMiniMp3.h>

// implement a notification class,
// its member methods will get called
//
class Mp3Notify
{
public:
  static void PrintlnSourceAction(DfMp3_PlaySources source, const char* action)
  {
    if (source & DfMp3_PlaySources_Sd)
    {
        Serial.print("SD Card, ");
    }
    if (source & DfMp3_PlaySources_Usb)
    {
        Serial.print("USB Disk, ");
    }
    if (source & DfMp3_PlaySources_Flash)
    {
        Serial.print("Flash, ");
    }
    Serial.println(action);
  }
  static void OnError(uint16_t errorCode)
  {
    // see DfMp3_Error for code meaning
    Serial.println();
    Serial.print("Com Error ");
    Serial.println(errorCode);
  }
  static void OnPlayFinished(DfMp3_PlaySources source, uint16_t track)
  {
    Serial.print("Play finished for #");
    Serial.println(track);
  }
  static void OnPlaySourceOnline(DfMp3_PlaySources source)
  {
    PrintlnSourceAction(source, "online");
  }
  static void OnPlaySourceInserted(DfMp3_PlaySources source)
  {
    PrintlnSourceAction(source, "inserted");
  }
  static void OnPlaySourceRemoved(DfMp3_PlaySources source)
  {
    PrintlnSourceAction(source, "removed");
  }
};

// instance a DFMiniMp3 object,
// defined with the above notification class and the hardware serial class
//
//DFMiniMp3<HardwareSerial, Mp3Notify> mp3(Serial);

// Some arduino boards only have one hardware serial port, so a software serial port is needed instead.
// comment out the above definition and uncomment these lines
SoftwareSerial secondarySerial(11, 10); // RX, TX
DFMiniMp3<SoftwareSerial, Mp3Notify> mp3(secondarySerial);
int offwav = 2; //sd:/05/002.wav
int onwav = 3; //sd:/05/003.wav

void setup()
{
  Serial.begin(115200);

  Serial.println("initializing...");

  mp3.begin();

  uint16_t volume = mp3.getVolume();
  Serial.print("volume ");
  Serial.println(volume);
  mp3.setVolume(24);

  uint16_t count = mp3.getTotalTrackCount(DfMp3_PlaySource_Sd);
  Serial.print("files ");
  Serial.println(count);

  Serial.println("starting...");
}

void waitMilliseconds(uint16_t msWait)
{
  uint32_t start = millis();

  while ((millis() - start) < msWait)
  {
    // calling mp3.loop() periodically allows for notifications
    // to be handled without interrupts
    mp3.loop();
    delay(1);
  }
}

void loop()
{
  Serial.println("ON");
  mp3.playFolderTrack(5,onwav);  // sd:/mp3/0001.mp3

  waitMilliseconds(5000);

  Serial.println("OFF");
  mp3.playFolderTrack(5,offwav); // sd:/mp3/0002.mp3


  waitMilliseconds(5000);
}
Here are the Video of the special effects turning on and off. Stay tune for the part. If you like this, please subscribe and share the content.
Here is the link to the Part 2 of the build.